

This size is 7″ wide and 11″ long. I’ve made them smaller. The size of the butterfly is up to you. There’s a lot of steps…Lets go……
 Wire: 19 or 20 gauge: Cut 2 – 24″ pieces for the body and wings Cut 1 – 10″ piece for the antennae Cut 1 – 1-1/2″ cut piece for the bottom hook Monofilament fishing line .011 diameter Cut 2 – 15″ pieces Needle nose, Round nose pliers, Wire cutters 2 – 16mm Large hole round beads for the head and body.

Note: make sure the hole is a minimum of 3mm very important. 2 – 32mm flat round beads for the body and tail

Note: flat round bead has a 1.75mm hole very important Lots of beads 8mm round, 3mm for antennae and #8 seeds Steps:


Take the two 24″ wires and thread head bead and flat bead about 13″ from the top of the wires Open wires


Take the 10″ wire for the antennae, using round nose plier, fold in half then using flat nose pinch together tightly


Using round nose bend the folded end up 90 degrees


Take end that is not bent and slip up through head bead all the way to the end where it’s bent. Leave as is for now.


String beads on the long wire for the top wings. And gentle shape as you are stringing. When you get to the end, fold the end of the wire around the 2 wires that are coming from the flat round body bead. Cut any access wire with your wire cutters. 

Do the mirror image for the other side

Slip another 16mm round bead on both bottom wires and a tear shaped bead which is optional. Design it your way.


Take the 1-1/2″ wire and slip it up thru the last bead Take your pliers and bend that wire up and over that bead Push up to the tighten


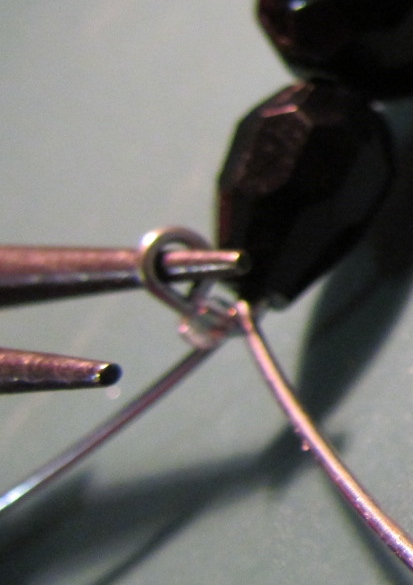
Once you push up to tighten, Take the same wire and bend up 90 degrees Place a #8 seed on the wire Then take your round nose plier and make a secure loop. This will lock the beads in place. 

String beads on the bottom wires As you are stringing gentle curve the wire When you get to the end, make a loop with the wire to secure beads.


Take monofilament line, string on #8 seed to the center then fold line together and string beads on both strands for tassel. Tie tassel on to loop and secure with knot several times. You can add a small amount of glue to secure it.

 For a little more whimsy I added a strand of 10 (5 both sides) tear shaped beads around the bottom of the body. Or a cute little bow would be nice too. It’s ready to hang and sparkle. If you have any questions please feel free to contact me

